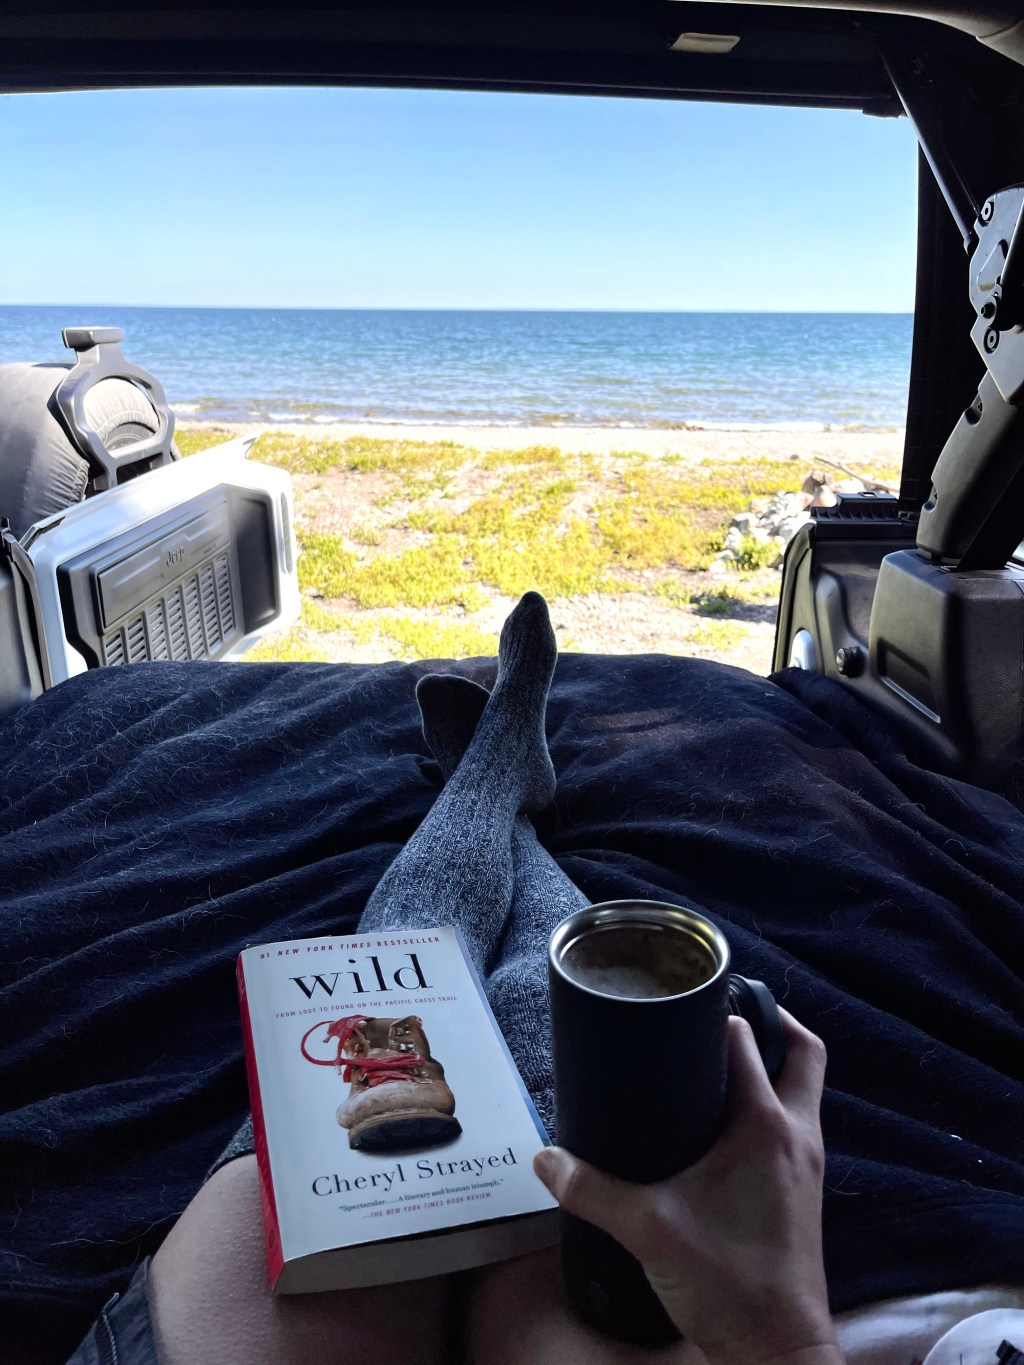
Whether you have lots of camping experience or you’re venturing out on your own for the first time, I wanted to highlight some of my favorite ways to set up different types of camp.
There are advantages for the type of setup you choose depending on the occasion. I’ve experienced a multitude of camp sites thus far, and I can’t say any one way is my favorite, but I have developed favorite ways of setting up each type.
I want to discuss these types of setups as I deem easiest from a traditional lifestyle just to get started. Anyone who is just getting started on their camping journey and is heading out alone or with a partner, I recommend car camping.
You may hear from others that certain types of camping setups aren’t legitimate if you’re not in a tent but there is an incredible amount of advantages to this type of camping especially if you’re limited on gear or time. If you have a vehicle where the seats fold down and you can lay flat from head to foot, this could be a great option for you. Now, if you cannot fully extend your legs while sleeping or maybe have too many dogs to fit on the bed, a traditional tent is probably a better move.
However, if you do have access to such a vehicle, you’ve already eliminated the need for a tent for your trip and in many cases, the need for traditional sleeping bags with cold weather gear. If you have a quality sleeping bag and pad already, you can absolutely use those in your car camping setup, but if not, there are many creative ways to make a bed with items you most likely already have at home.
When living a traditional lifestyle (9-5 job, living in the same area for years), you tend to accumulate a lot of material items especially if you haven’t moved homes for awhile. With that being said, there are so many random objects you may have collected that would help make a comfortable sleeping setup in your vehicle. Most vehicles that will work for you will most likely be hard tops, but I have a soft top Jeep which means it doesn’t insulate as well and will be exposed to the full range of the outdoor temperatures.
Having a hard topped vehicle means normal blankets at home will work just fine. I highly recommend using older or darker in color blankets and sheets you may have due to how dirty things can get when you’re outdoors. You’ll want to start with a good base for the setup. You can use yoga mats to line the floor, or even couch cushions. Anything to add a soft layer so you don’t wake up with a stiff body. I honestly prefer lining my set up with any type of furniture cushions compared to camping pads because I feel so much cozier!
Of course this setup can be done in a tent, but it’s very time consuming moving the items from the vehicle and then adding all the layers in the tent to make your bed, and then of course… the tear down when you leave is not fun at all especially if you’ve got a big drive back home. When the setup is in the vehicle… you have it ready to go when you arrive and you leave. There’s no tent setup/breakdown, no sleeping gear to immediately deal with, and you have more protection from the elements. Another huge advantage of car camping is the ability to have a locked environment that can keep out unwanted guests (human and animal) while you sleep.
Second to sleeping accommodations, my desire to eat well is a main component to my camping setup. In reality, you don’t need the most elaborate setup to make meals especially if your concern is just getting in sufficient calories to fuel your body for your chosen adventure. For me, getting adequate calories that taste good is essential to my experience. Being able to heat water is one of my most essential tools in my meal kits. If you’re camping for one night, you can even forego camp kitchen setups completely. You can always bring non perishable foods, and snacks to get you through your journey. Instant coffee and caffeine drinks make things extremely easy. You can always pick up dinner on your way to your site and make a picnic of it. Super easy, and very convenient.
Since my main focus for this post is laying out the easiest way to get started, or how to just go for a quick overnight excursion with limited equipment. You can use a cooler/ insulated bag to hold almost everything you need to eat even if you decide to not make any hot meals. However, I prefer to always have a hot meal for dinner. Heat sources can range from many forms. The cheapest is going to be making a fire to heat your food especially if you’re able to gather wood from the surrounding area. It is essential to check the fire restrictions in your area before you plan your trip. If the area you’re camping in has any fire restrictions, it will determine the source you use to potentially heat your food.
Fire restrictions vary greatly depending on the area and the risks involved. There are some dry areas that even restrict propane use when you’re in a very dry, high risk area. If you’re in an area without fire restrictions, and has vegetation with plenty of dry wood, it would be cheapest to make a fire to heat up your food. If you want a fuel source that can be used even in backpacking scenarios, I highly recommend getting a jet boil. They average around $50 and there are a variety of brands available that mimic this exact product.
For regular campground use, a single or double stove top device that uses 1 lb propane bottles are great. There are even small stove attachments that connect directly to a 1 lb or half size propane tanks that are relatively cheap and take almost no space. I find these are great for an outdoor kettle or small pot. If you want to cook with a small pan or medium pot, I recommend going with a dual stove top. These range significantly in price, but I do see them on Facebook Market place for a good deal every now and again.
Now, what about dishes? These are the things that can easily be forgotten especially if you don’t have a designated camping setup/ storage. The reality is, you can use what you already have. You can use dish towels to buffer ceramic dishes when storing them for travel. If you have dishes that match a set and don’t want to potentially ruin them, the Dollar Tree is a great place to pick a set of dishes for two. They have affordable ceramics, and plastic dishes if you want something durable you can just throw in a bin and forget about them. Camping dish sets can get pricey, so until you know you’re really into camping, I recommend holding off on your ideal set until you know you’ll get a good cost per use out of them.
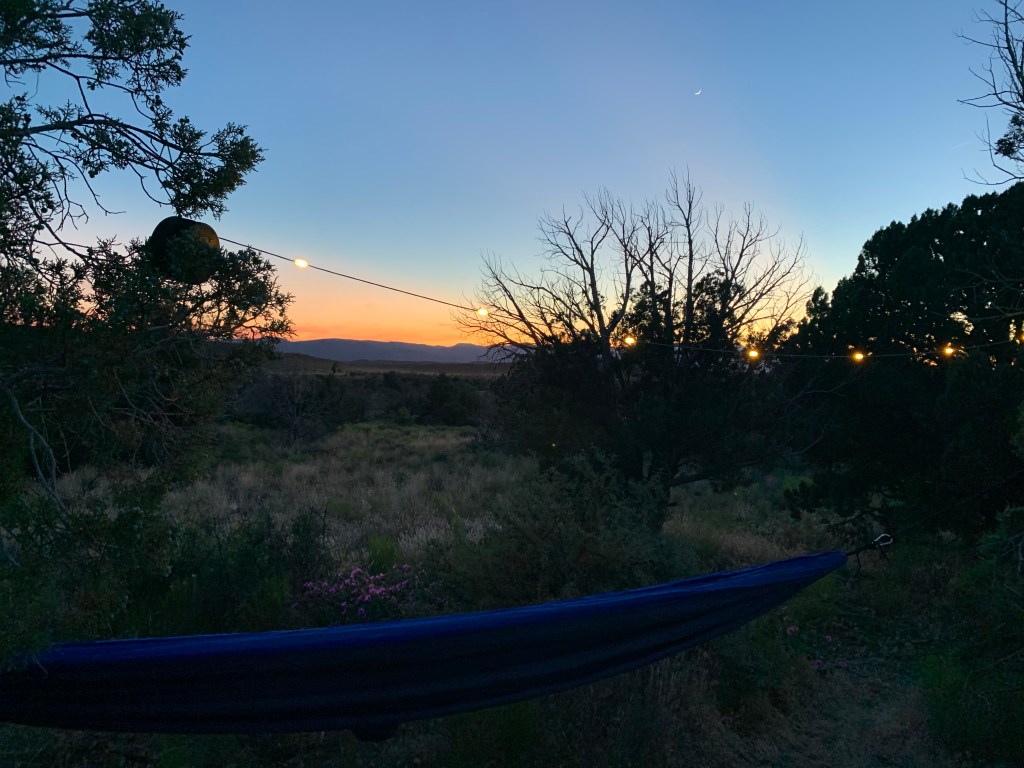
Now, let’s talk about some non-essentials. When it comes to camping, it can be as rugged or as glamorous as you desire. My top recommendation for a non essential item is solar string lights. You don’t really need a light source for the evening apart for some head lamps which are great for the trail at night or just navigating around the camp site in the dark. However, at least one pair of solar string lights can change the entire ambience of a campsite especially if you don’t have a fire.
Another nonessential which is great to have on hand is a battery bank of some sort. This could mean a small cellphone battery bank just to make sure your phone stays charged. I highly recommend always keeping your phone charged to some degree if not for some fun pictures, but for any situation in which you need to make a phone call. Battery banks range from price and there’s no shortage on different brands to choose from. I’ve had a Jackery 1000 with two solar panels for about 4 years now and I can say with confidence it’s a quality product that hasn’t slipped in effectiveness and continues to be my main power source when off grid.
Camping chairs and hammocks are another great non-essential item. Being able to move a chair around to rest is great, and having a hammock is lovely when in a tree covered area for a mid afternoon nap. Once again, you don’t need these… Many campsites have picnic tables, and in many situations, I’ve laid a blanket down to relax, or even just used a log or large rocks to sit before. I’ve in many cases used my vehicle bumper or the back of the trunk as a place to sit as well when car camping.
The next thing I want to discuss is water storage. Water is essential, but buying certain storage items isn’t. You can easily fill recycled bottles or jugs with water to bring to your site and it’ll do just fine. You can even go to the store and pick up a variety containers of fresh water with handles and spigots. There are numerous ways to contain water for very low cost, but it’s important to always plan for not just enough water, but extra water just in case. I’ve used a myriad of containers throughout the years, but my favorite are 20L reusable, collapsable bags. They are very sturdy, have handles, and are just big enough to last awhile, and small enough to maneuver easily. Also… A small spray bottle has been one of the best tools I’ve ever used for washing dishes without running water.
So… I’ve just shared a lot of information. A lot of it may have been obvious, and some I hope was enlightening. This post could go on for even longer, but it’s purpose is to get you comfortable with the idea of how little you need to get started on your outdoor journey. There will be more posts in the future that dive into these topics more throughly with pros and cons to different methods and products. For now, get out there. Be safe, and don’t overthink it!
Happy camping friends
 The Adventure Fox
Leave a comment